Nobody wants to get stuck out in the wild with a festering wound.
We also don’t want to spend a ton on bulky first aid kits and lug them into the field with us.
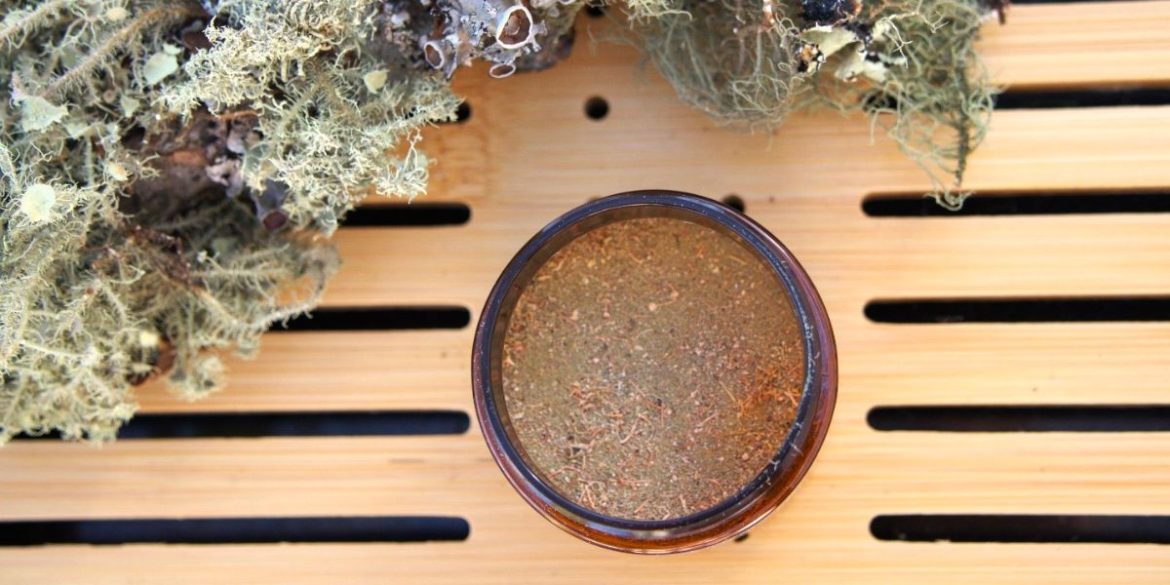
Fortunately, you can get around all that by making usnea powder. Read on to learn how to turn this common lichen into convenient, functional, science-backed medicine that fits right in your pocket.
Materials for Making Usnea Powder
Making usnea powder is easy and quick and may cost nothing at all. Afterward, you’ll have an excellent antimicrobial that can help prevent and treat infections in the field.
Here’s what you’ll need to get started:
- Usnea: Start with at least half an ounce of usnea. Beyond that, use as much as you want. Read: How to identify usnea.
- Coffee grinder or blender: Usnea is tough, and you’ll need a machine to help blend it. An herb grinder, coffee grinder, or blender will work fine.
- Small tin or jar: It’s wise to pack your usnea powder in a small one or two-ounce jar for easy transport wherever you go.
- Mason jar (optional): If you have leftover usnea powder that won’t fit in your tin, store it in a lidded mason jar at the homestead.
How to Make Usnea Powder
1. Source Usnea
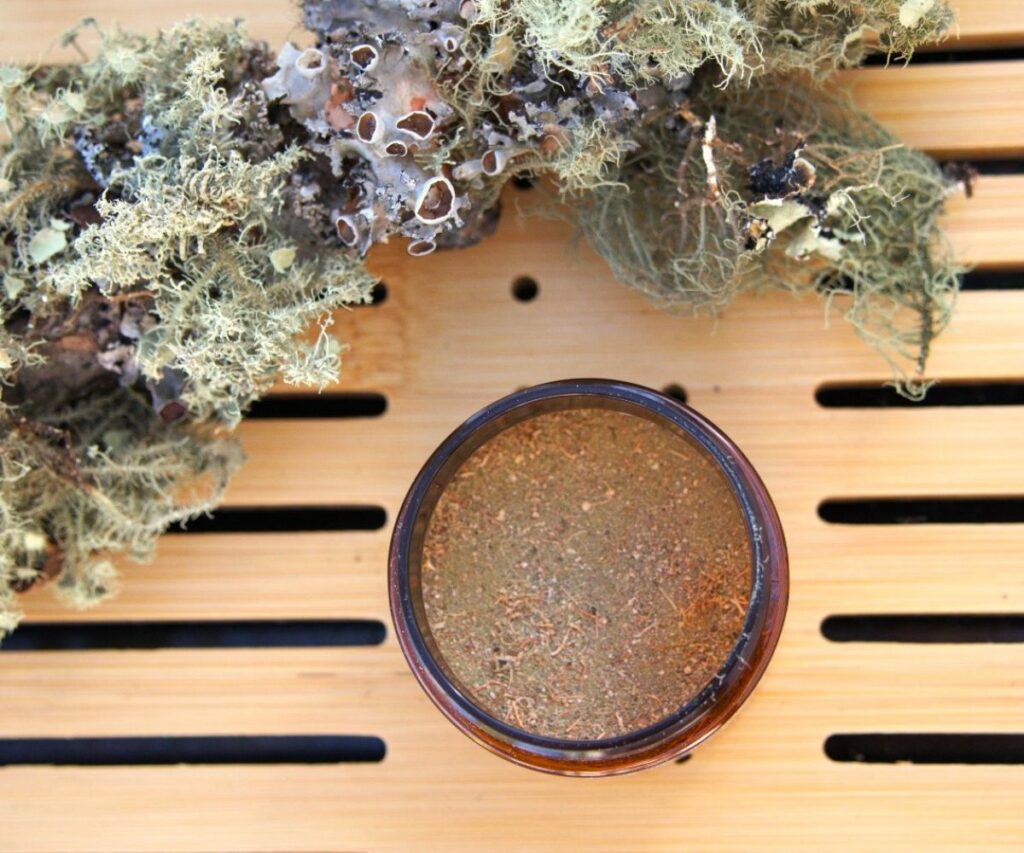
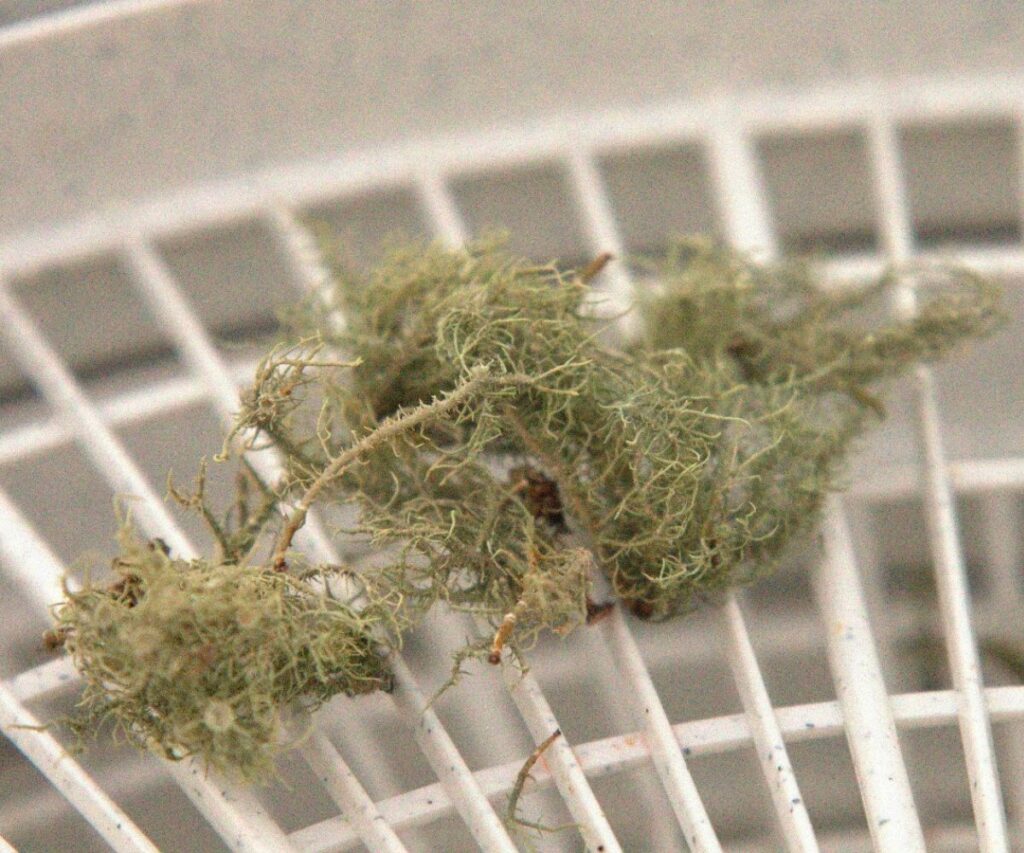
Also known as “old man’s beard,” usnea is a green, hairy-looking lichen that grows on tree branches and twigs. It loves dark, damp conditions, and you can usually find it easily in most rural forests.
I suggest starting with several ounces, but you can begin with less if you can’t find that much.
Those living in cities or regions with poor air quality will need to buy it from a local herbalist or online from a trusted vendor.
2. Clean and Dry
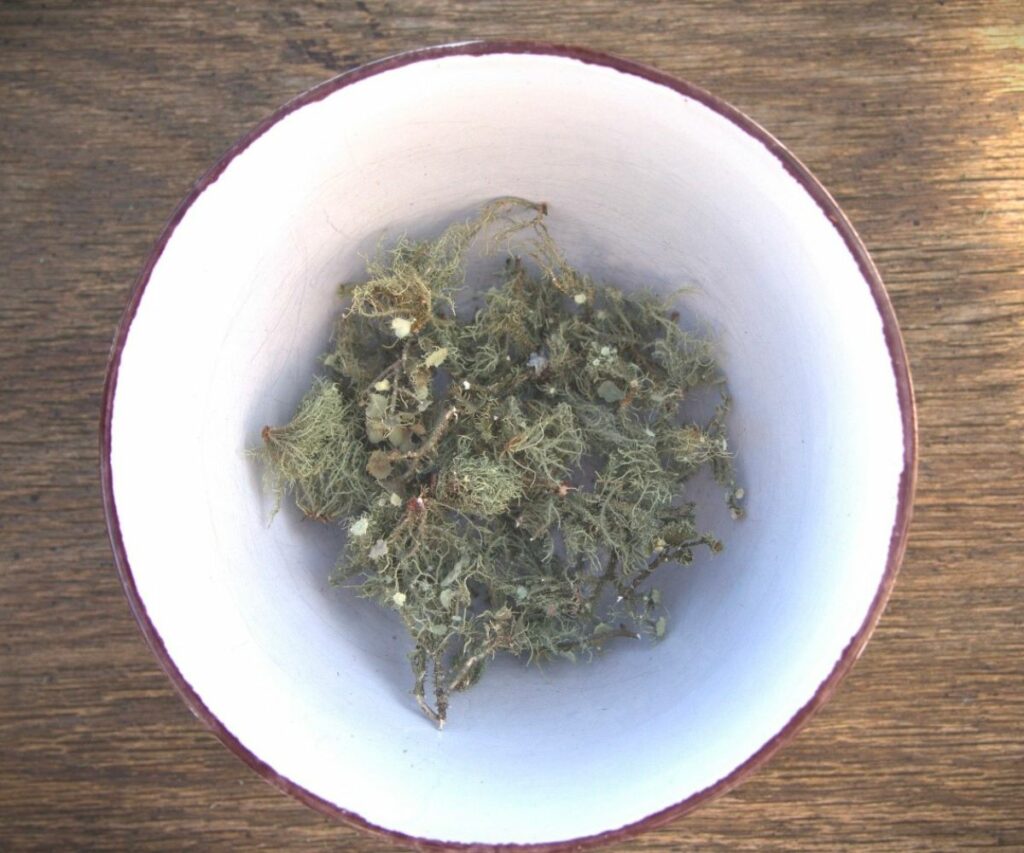
Once you have enough usnea, clean it by plucking off pieces of dirt, bark, and moss. Since the lichen grows on trees and often falls to the ground, it can get pretty dirty.
Especially when making usnea powder for a first aid kit, you want to clear it of debris — but since it is a natural antiseptic, there’s no need to wash it with water or sanitize it.
Once it’s clean, dry your usnea in the sun for four to six hours. If you have a dehydrator, you can dry it at 130°F for around two hours.
If it’s damp, it may need more time. If it’s already pretty dry, it won’t need that much. Check with your fingers to ensure it’s dry before proceeding. It should be stiff and crackle.
3. Grind to a Powder
Once your usnea is clean, break it up into small pieces. Place it in your grinder or blender and grind away.
The objective is to achieve an ultra-fine powder. However, usnea is a tough cookie. It will take a minute or two to achieve your goal.
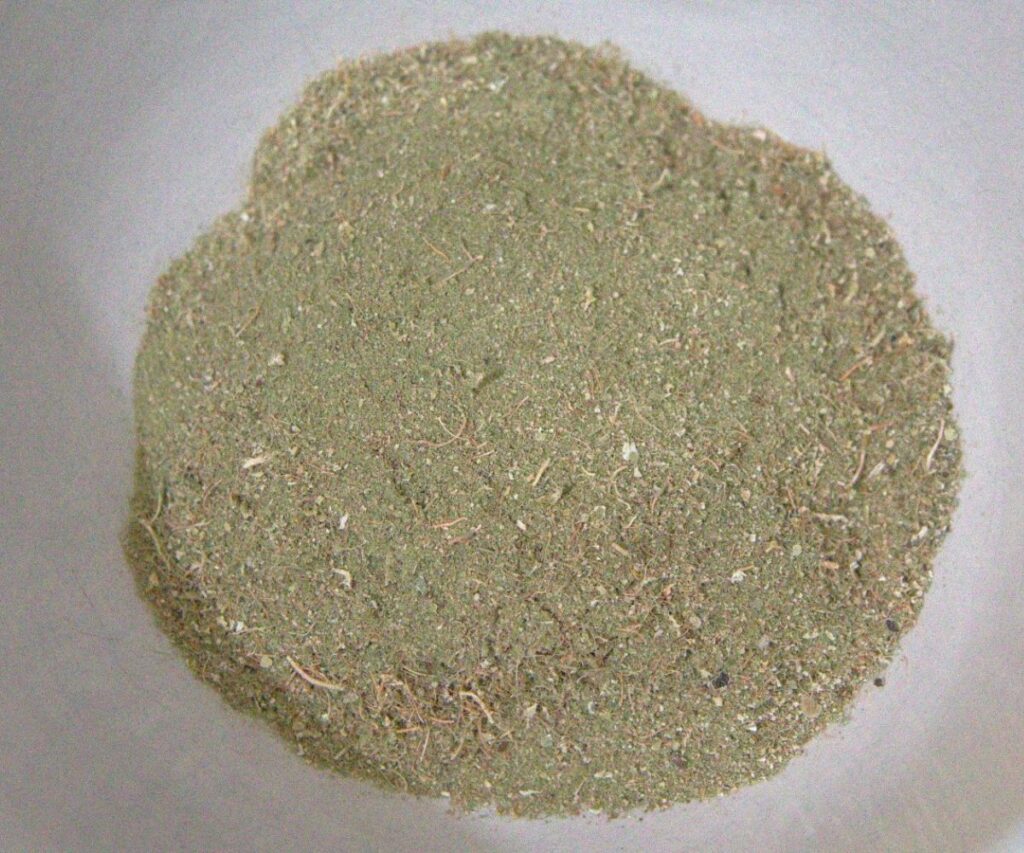
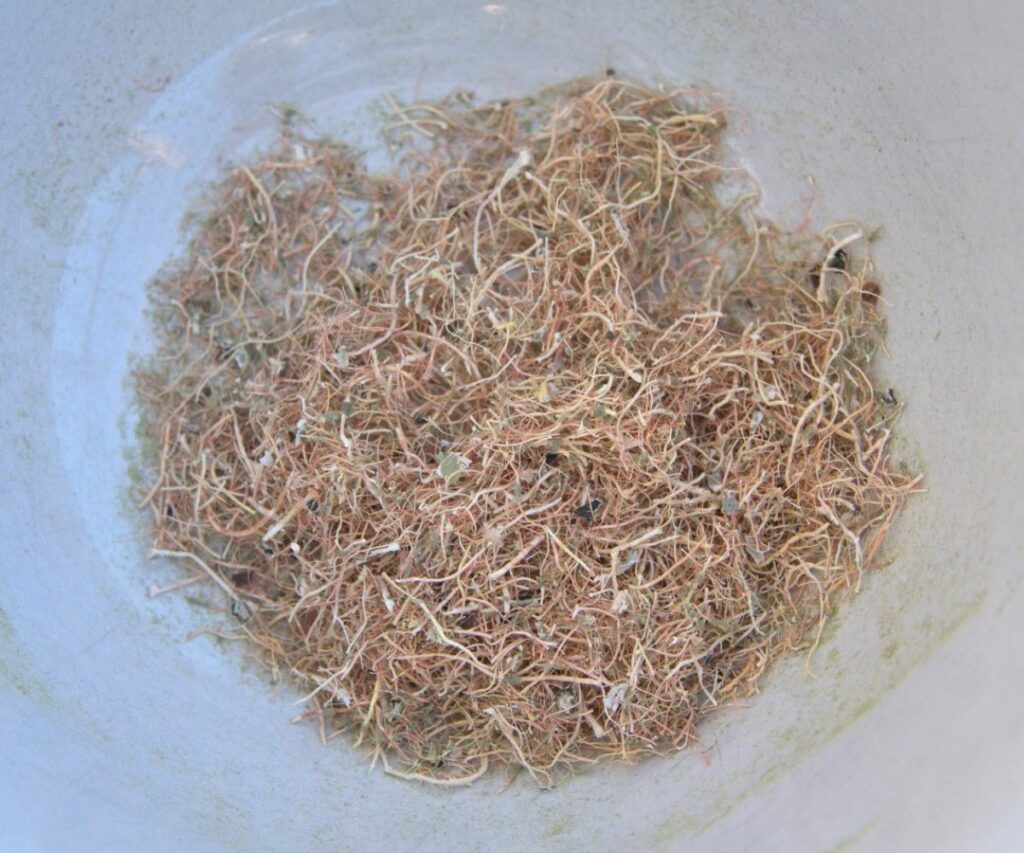
As you grind along, you may notice that usnea’s inner core isn’t pulverizing like you want. This white core is incredibly tough and stringy. Unless you have a very powerful processor, you may be unable to grind it down.
If it doesn’t happen, don’t sweat it. You can compost the tough bits or (better yet) add them to an oil infusion or tincture.
4. Store Properly
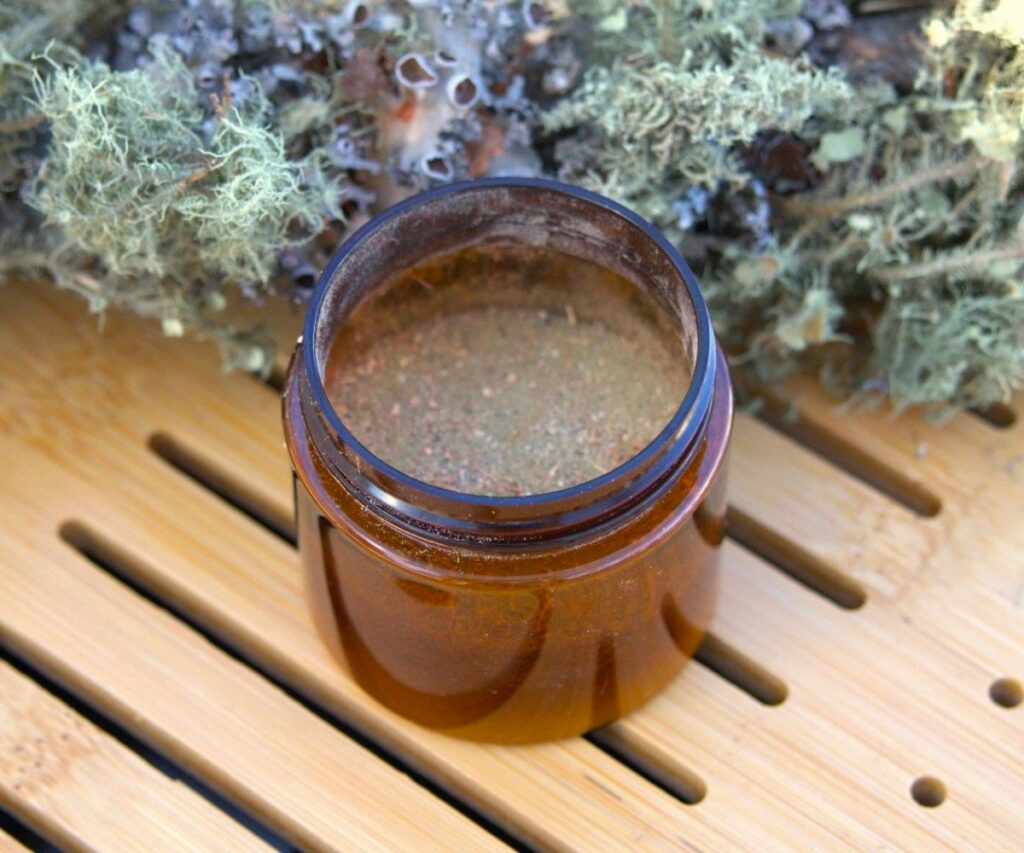
When you’re done making usnea powder, store it in a one- or two-ounce jar. I love the sturdy plastic jars from Qeirudu on Amazon. They’re easy to carry, and I can also use them to hold other items, like salves and balms.
Whatever tiny, lightweight container you end up using should tuck unobtrusively into your backpack, foraging bag, or field pack.
If you stow it ahead of time, you’ll never have to think about grabbing it — it will just be there when you need it.
If you have leftover usnea powder, store it in a Mason jar or lidded container to preserve freshness and prevent microbial growth.
How to Use Usnea Powder
Usnea’s compounds exhibit considerable analgesic and anti-inflammatory effects and can accelerate wound healing. However, making usnea powder is only half the battle.
Afterward, you must know how to use it for first aid in the field or around the homestead.
*Please note: Usnea powder is no substitute for professional medical evaluation or treatment. Always seek advice from a licensed professional when sick or wounded.
Pack a Fresh Wound
If you get scratched, scraped, bitten, or receive any other injury that breaks the skin, pack the wound with usnea powder immediately.
An usnea-packed wound is safer from bacterial contamination and less likely to become infected. The usnea should also speed up healing while bringing down swelling and pain.
Make a Poultice
Have a wound or bite that’s already infected? Use powdered usnea in a poultice to draw out the infection.
Your poultice can be as simple as usnea and water, or you can mix it with antimicrobial oils like oregano, cloves, and rosemary.
Spread it on a warm cloth or apply it directly to the skin over the infection. Usnea’s antimicrobial properties will help clear the infection while relieving pain and swelling.
Soak the Skin
Usnea is particularly effective in a survival scenario where you or a family member become ill with a UTI, fungal infection, or unknown skin reaction and have no access to antibiotics.
You will need access to water and a receptacle.
Boil the water to sterilize it, then allow it to cool until slightly warm. Stir in a few tablespoons of usnea powder and soak the affected area for 10-20 minutes, 2-3 times per day.
This should help relieve discomfort and fight the infection off.
Want a truly powerful tool for your emergency medicine arsenal? Of course you do! Now that you know all about making usnea powder, you can hit the forest and start foraging for your first aid kit today.
